

Beginner Projects, Gift Ideas, Sewing, Sewing Tutorials, Upcycling
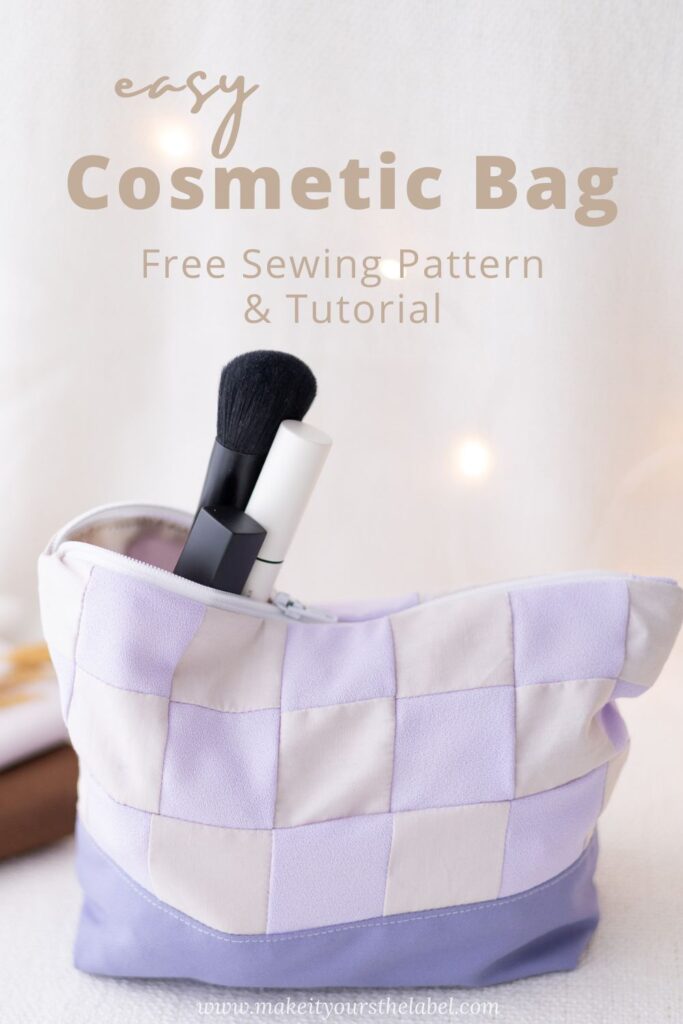
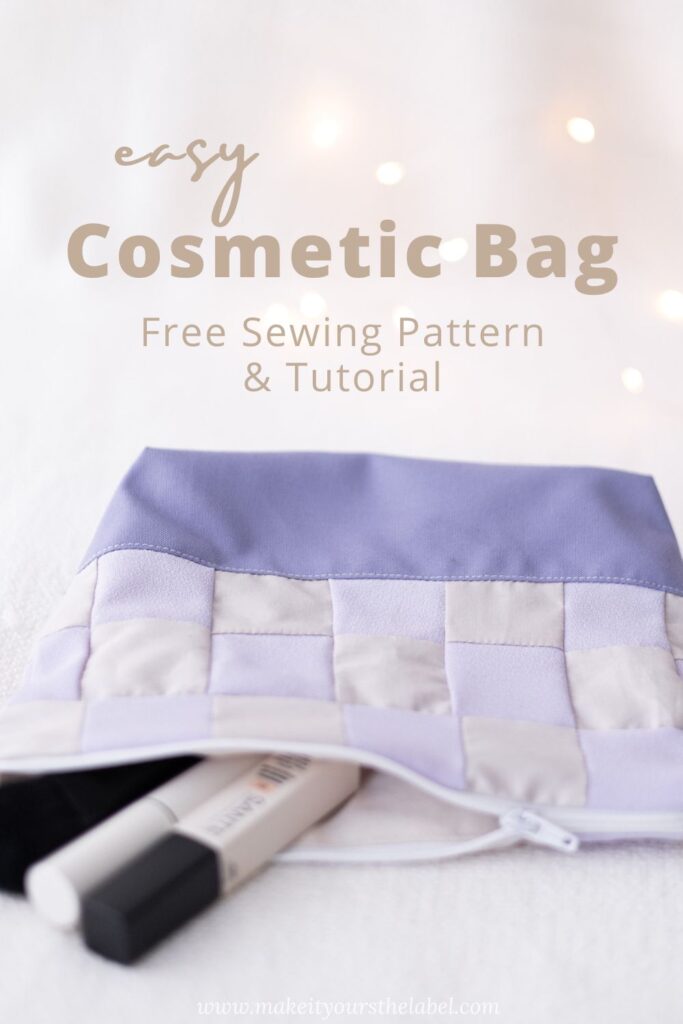
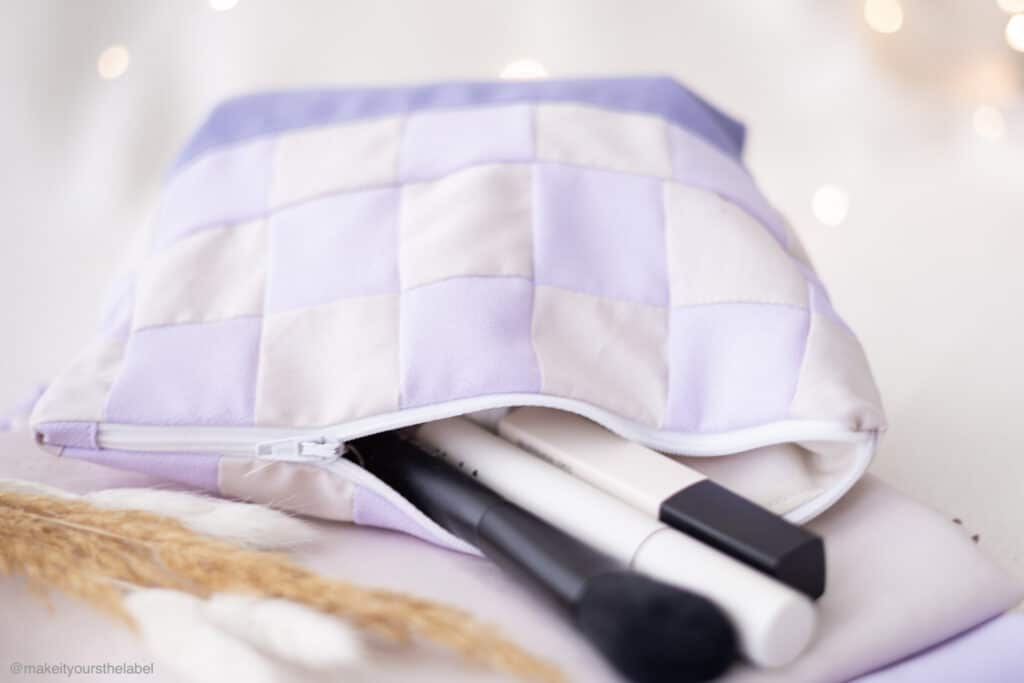
Easy cosmetic bag free sewing pattern and tutorial for beginners
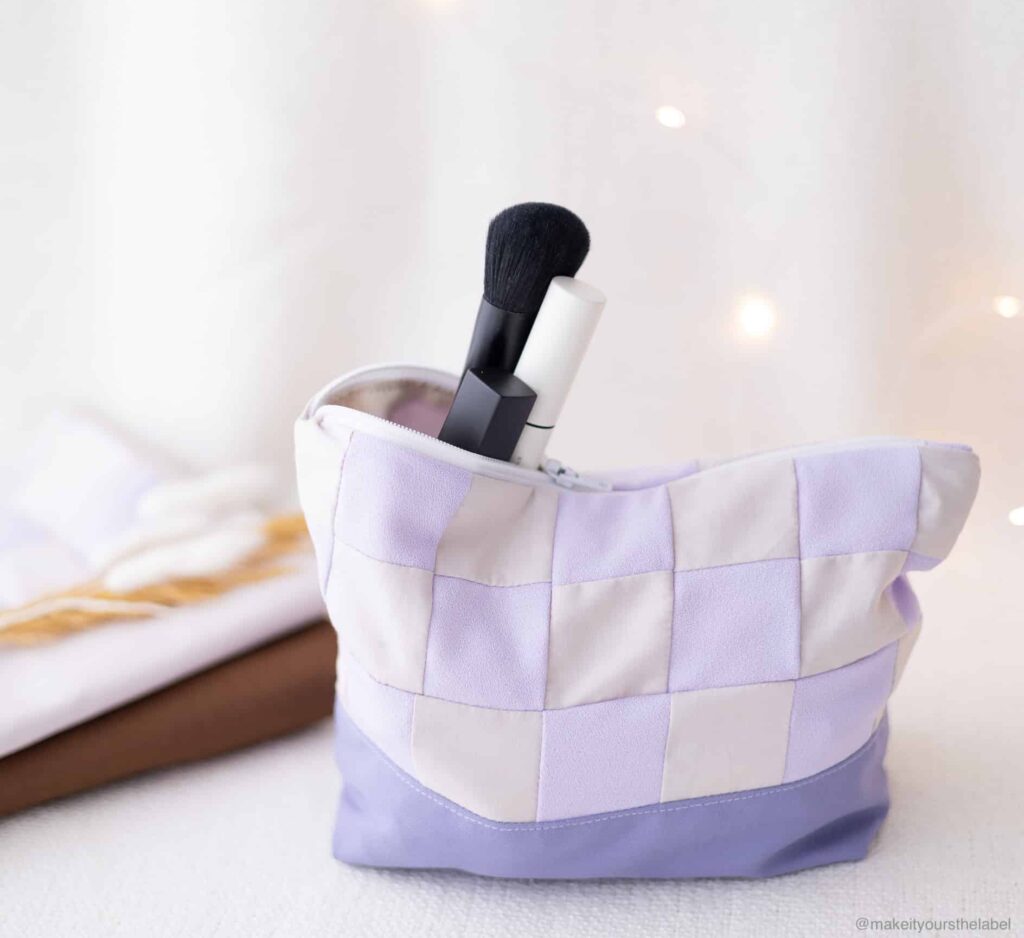
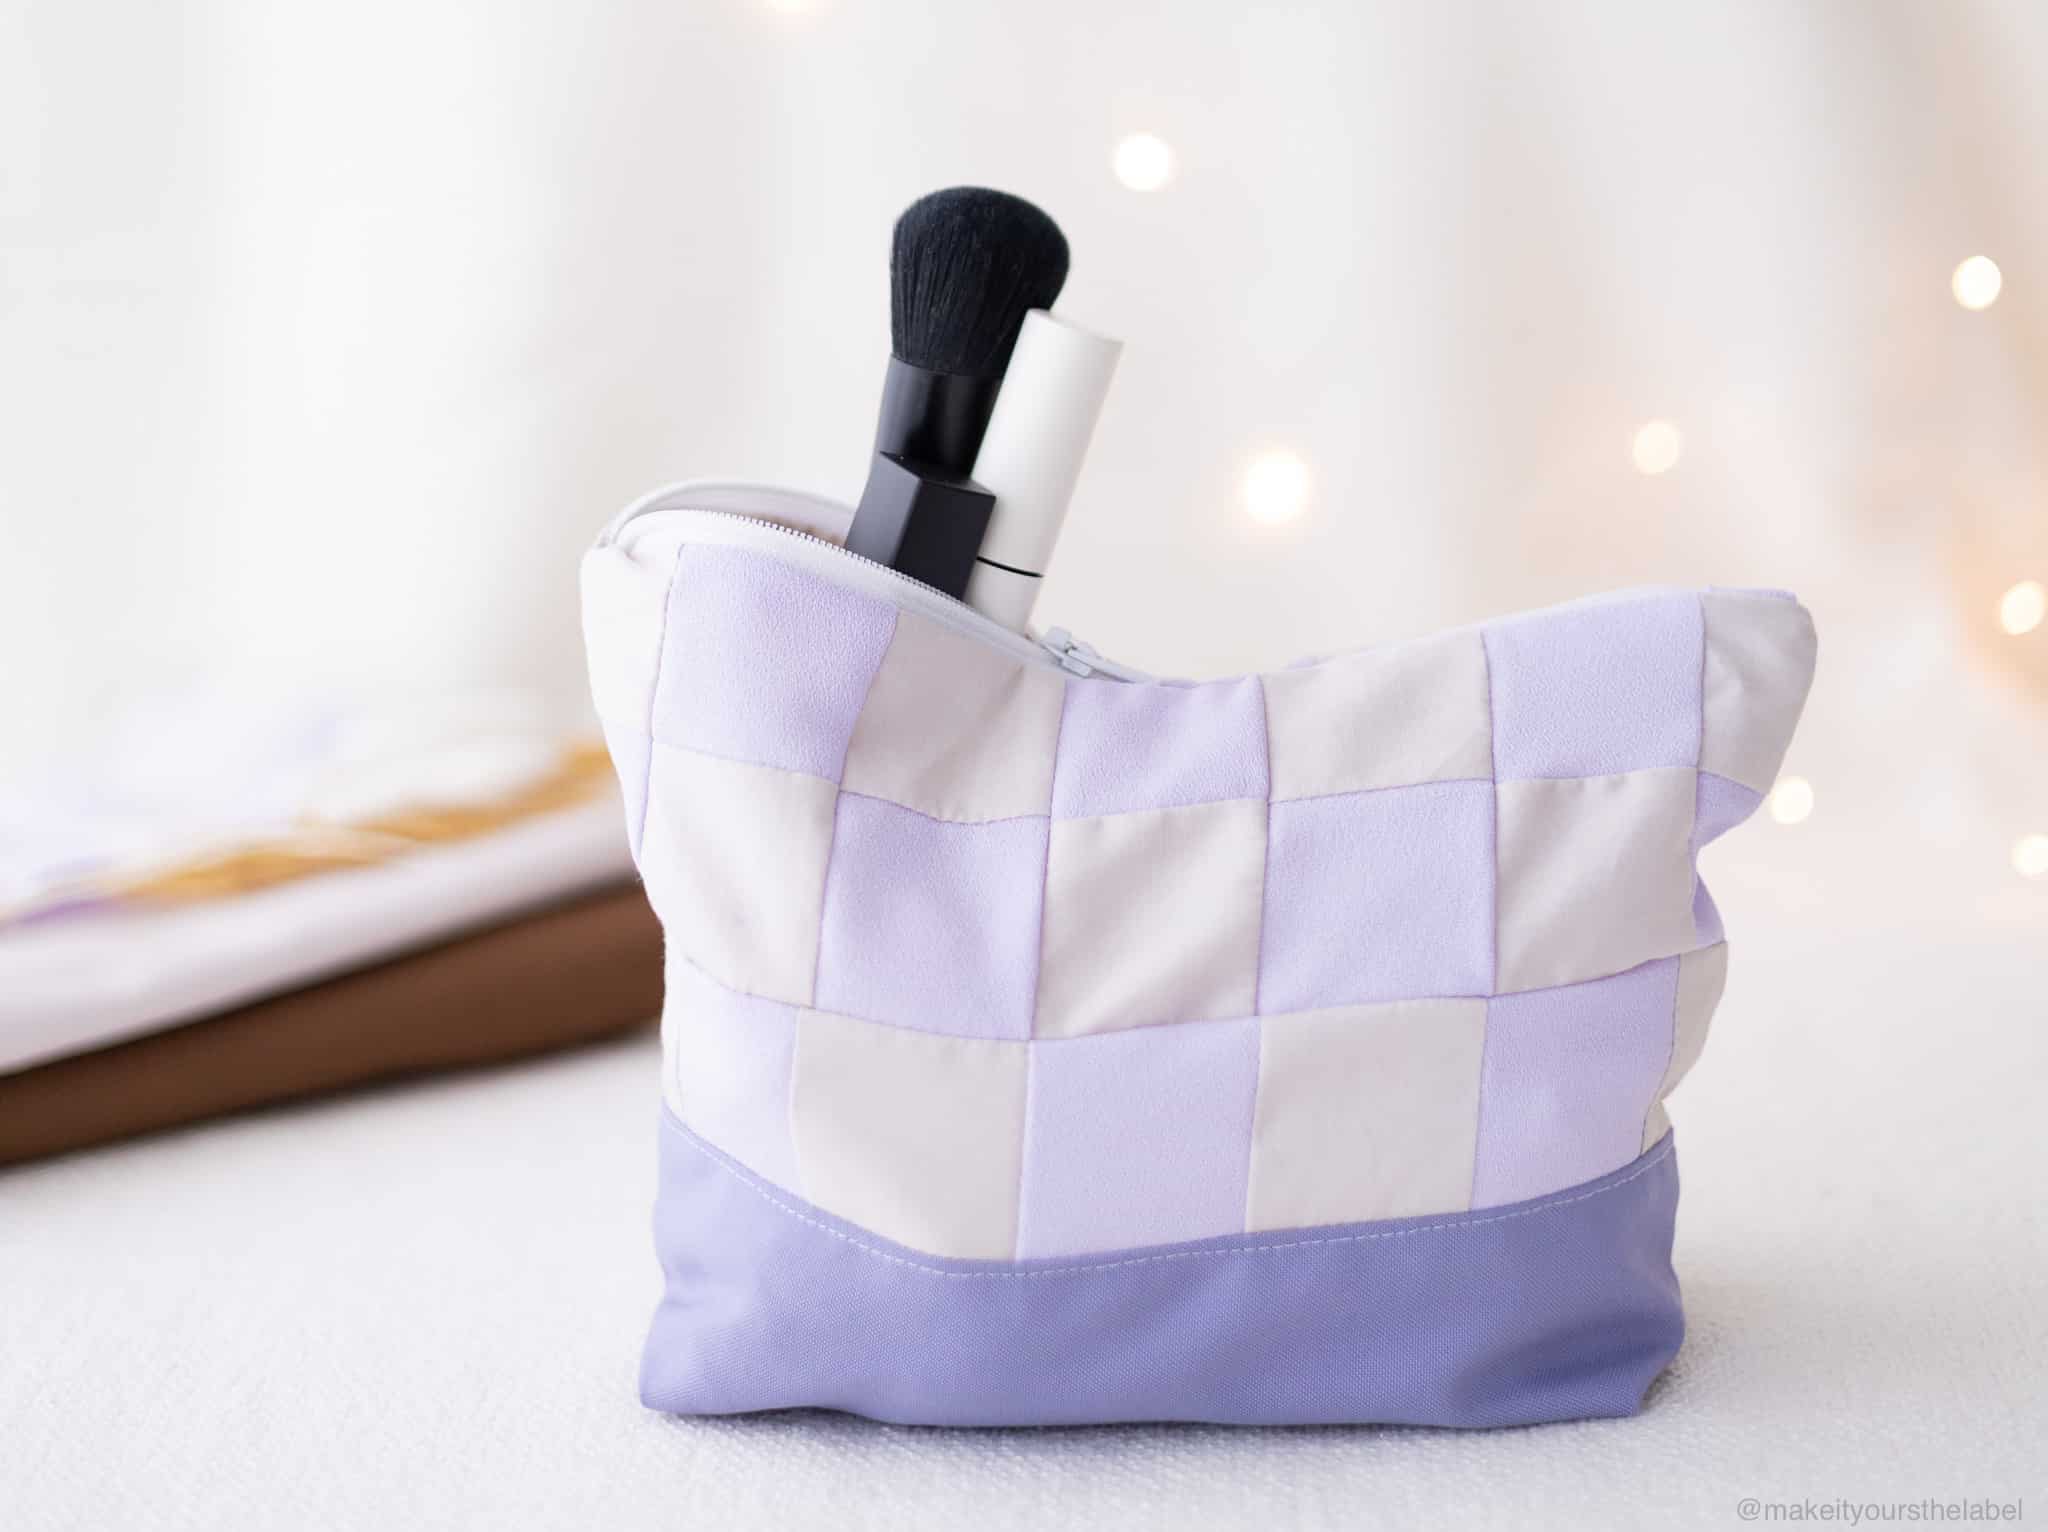
Small sewing projects like this little makeup bag are great for sewing beginners! The pattern pieces are small, easy to sew and you will see great results in no time! Sounds fun? Then let’s get started on your first cometic bag.
I’ll show you how to sew a simple makeup pouch made from non-stretch cotton. This small bag is fully lined so you can play around with different fabrics and color combination. You will learn how to sew a small pouch with lining and how to insert a zipper from Etsy.
This Cosmetic organizer not only is a great beginner sewing project. It also is a perfect last minute gift idea as well as a sewing idea to use your fabric scraps. Happy sewing! 🙂
How to make this cosmetic bad using the free sewing pattern
Never worked with PDF Sewing Patterns before? They are a great way to sew anything you like at the comfort of your home. Consider them as a template. You can enjoy the process of sewing knowing the results will be exactly how you’re seeing it on the picture. Let’s get started with this free cosmetic pouch pattern:
- Download the free sewing pattern for this cosmetic pouch linked below
- Check the fabrics and supplies you need for this cosmetic bag
- Follow the detailed sewing instruction
*This post contains affiliate-links*If you make a purchase using the links included, we may earn commission.
Cosmetic Bag free sewing pattern
--> Click here for A4 Download <–
How to work with this PDF sewing pattern
Download the pattern by clicking on the link above. Make sure to always open the pattern on a computer (not on your phone or tablet). For printing use a program like Adobe Reader, as problems may occur when printing from the browser window. Always make sure to print in real size and turn off the automatic page adjustment.
First print the page with the test square (4x4cm) and check if your printer settings are correct.
Cut out the pattern pieces and start your new project by transferring the pattern onto your fabric.
DIY Cosmetic Bag Supplies & Materials
Materials
- 1-2 different fabrics in the color of your choice (will be visible from outside), each 30 cm
- 30 cm lining fabric (will be visible from inside)
- 22 cm long zipper of your choice (My recommendation: non-separating Nylon coil zipper, 3-5mm, can be shorten later on)
- thread matching your fabrics
- Optional: lightweight fusible interfacing* to strengthen the main fabric (important if you’re using very thin / light fabrics)
- Clips or Pins
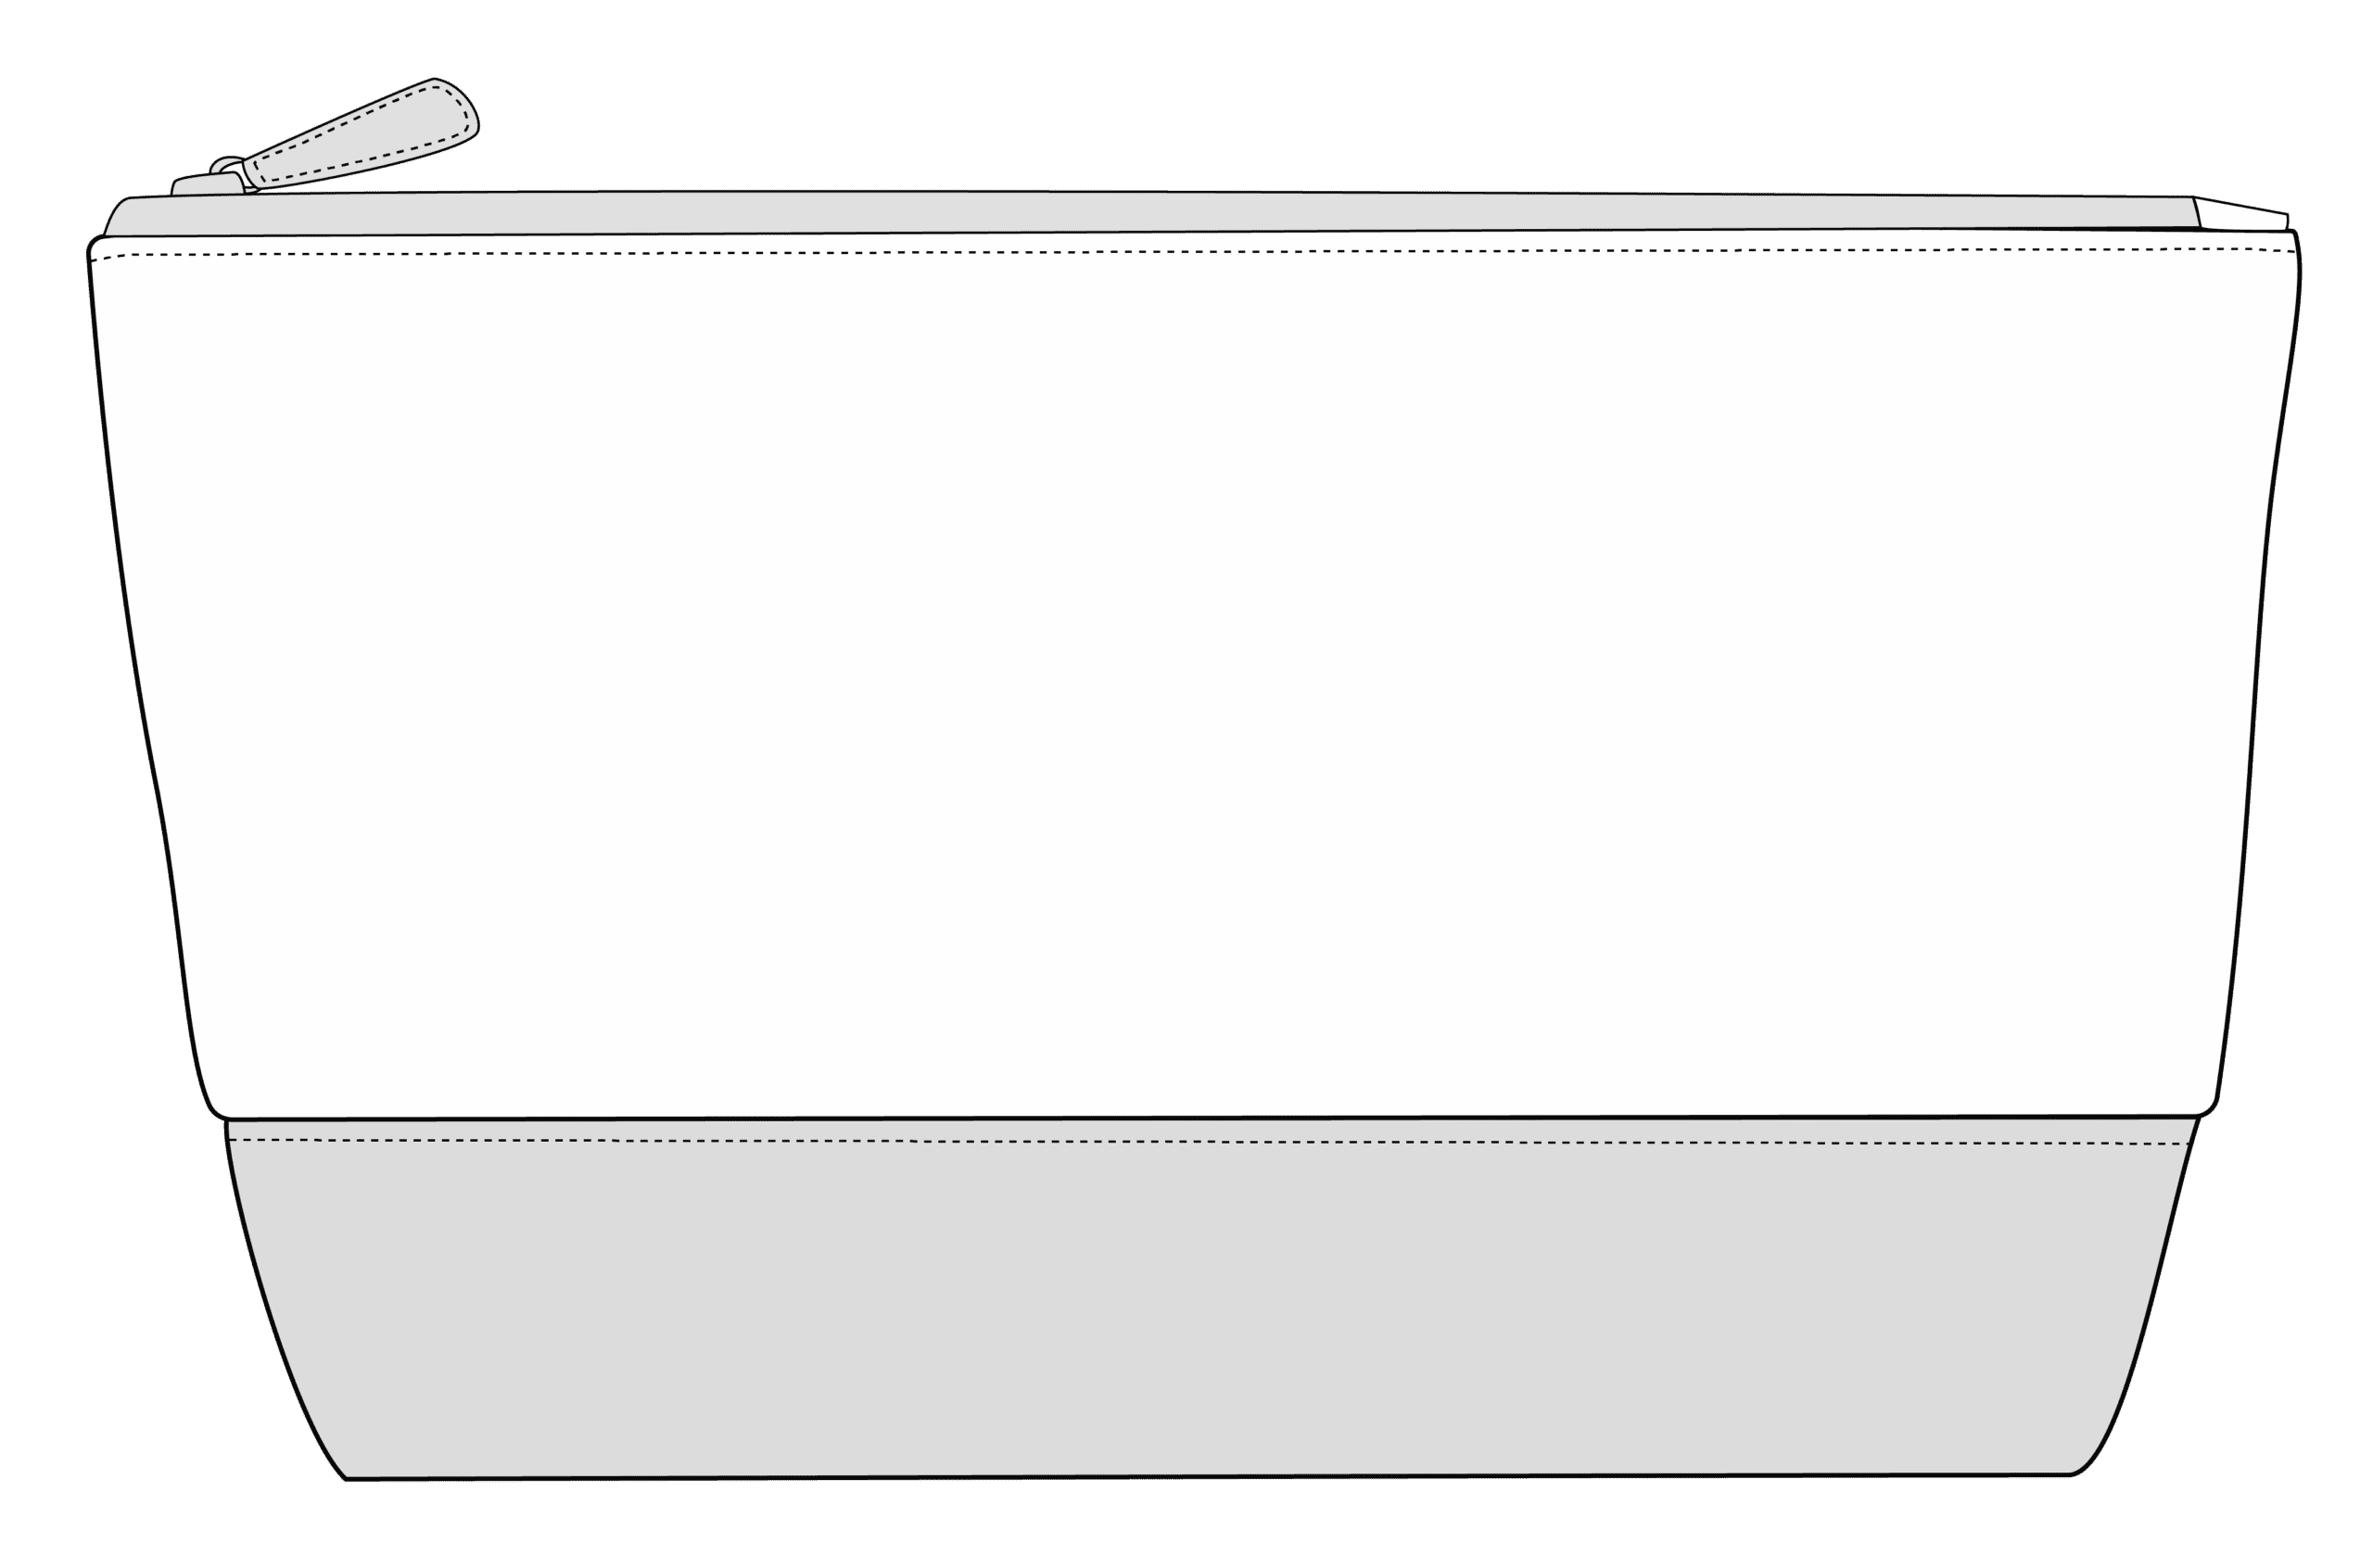
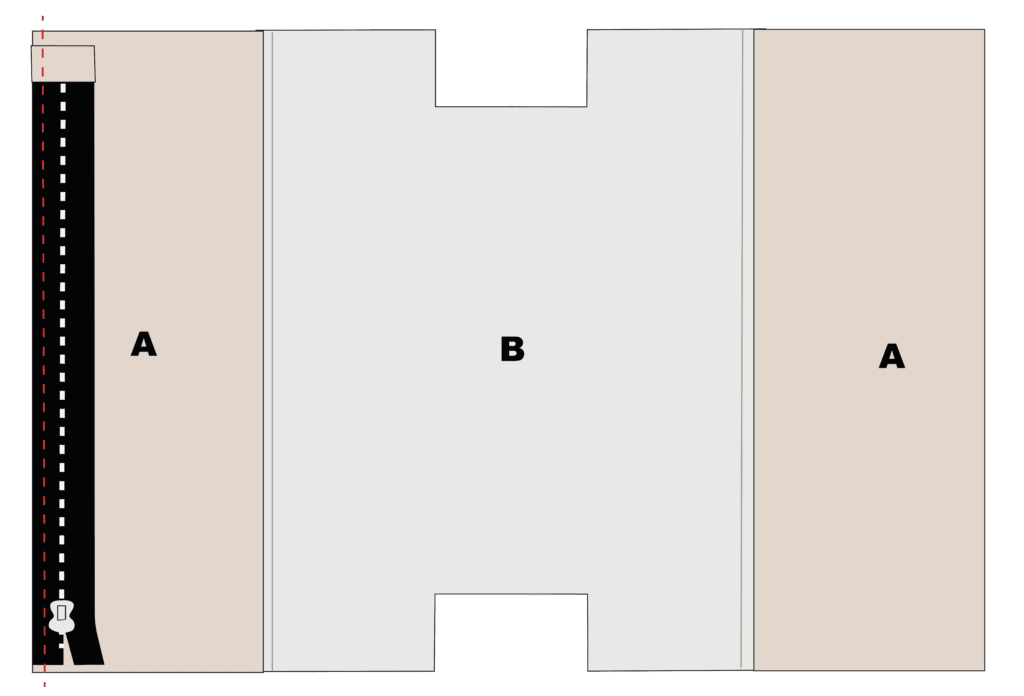
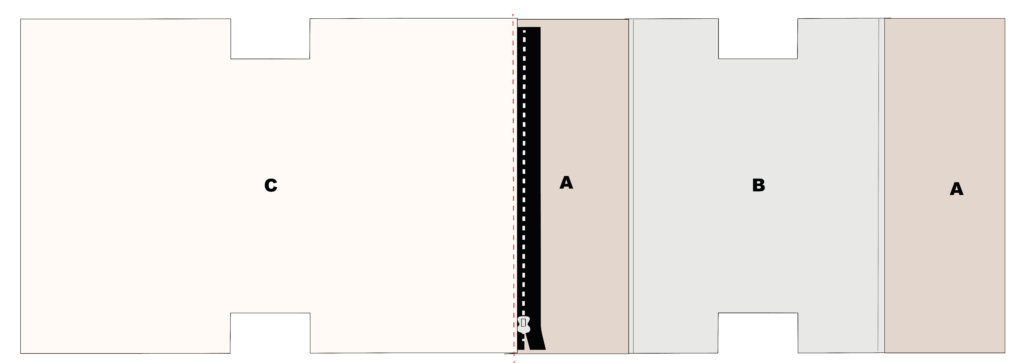
Right fabric side = beige
Left / wrong fabric side = dark grey
Lining = white
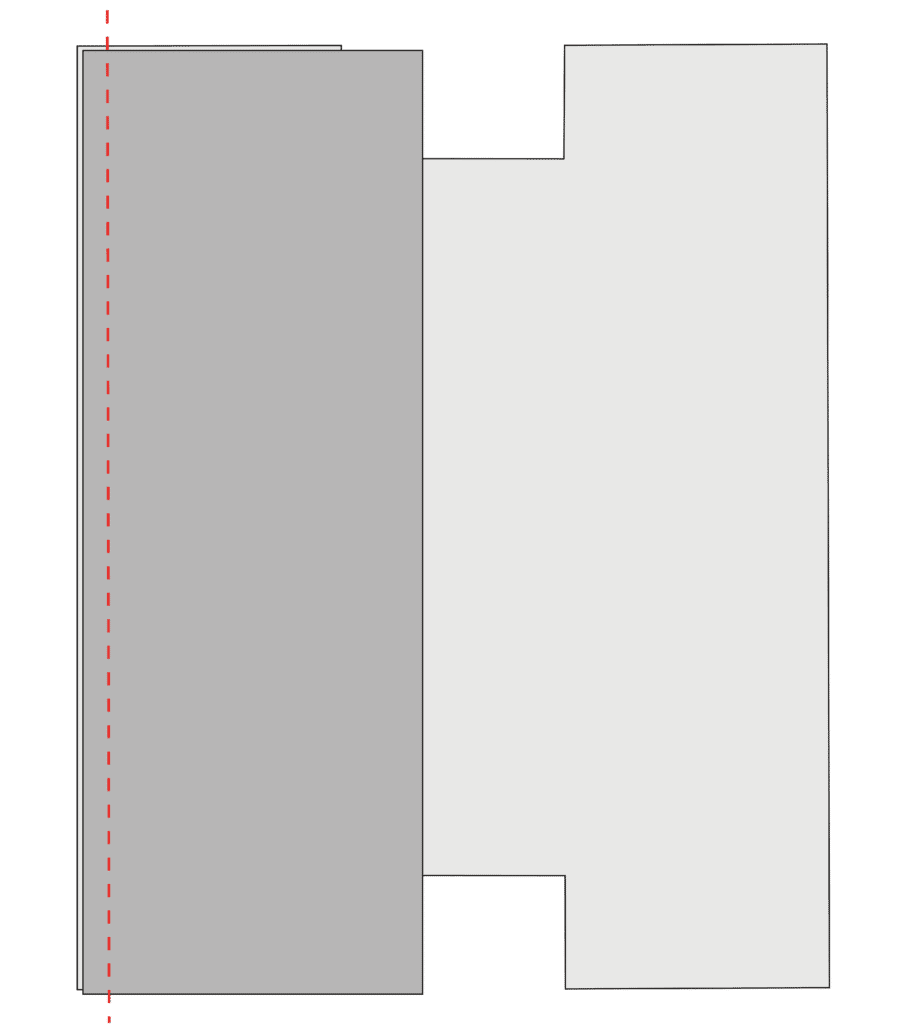
1. Pin A right sides together to B. Stitch with a straight stitch and 1cm seam allowance.
Repeat with the second A piece on the other side of B.
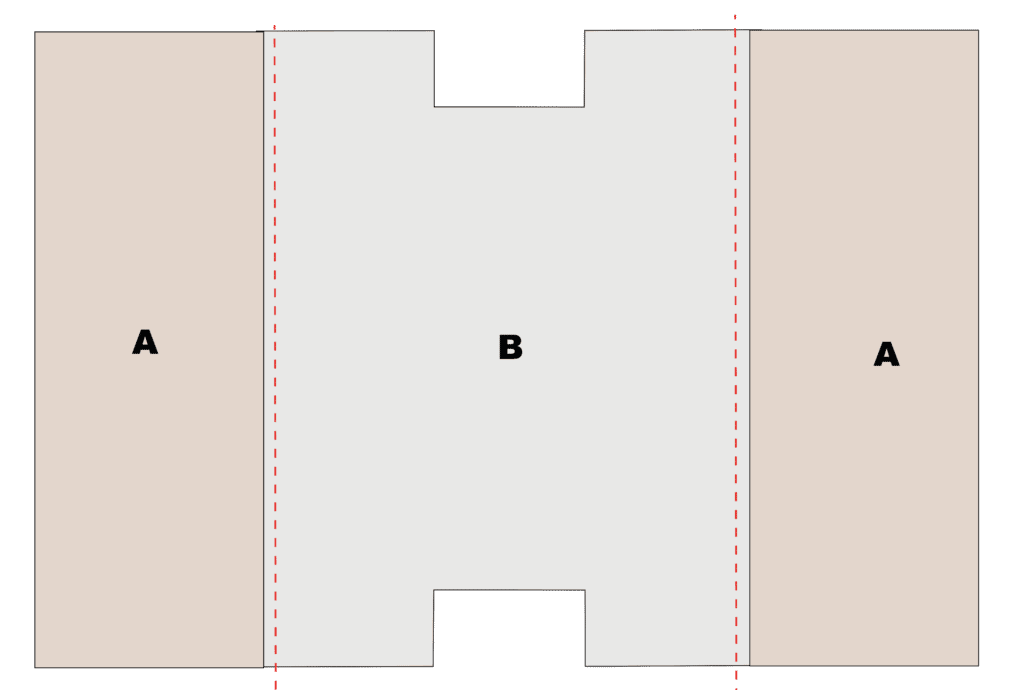
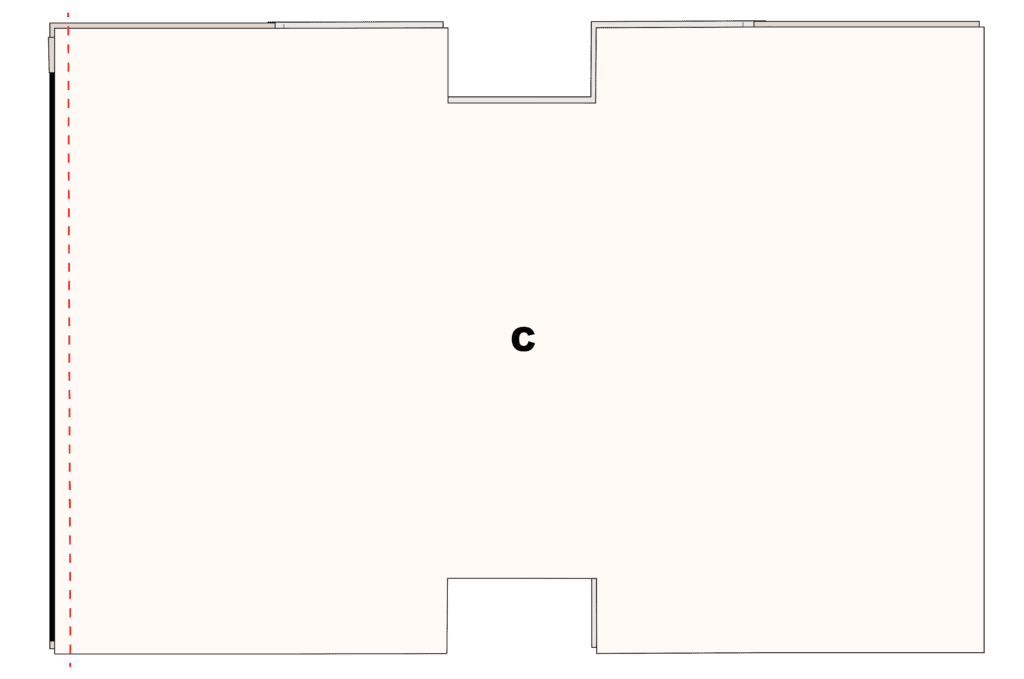
2. Press the seam allowance down (towards part B).
Topstitch part B onto the seam allowance. Sew with a straight stitch, close to the edge. Make sure to sew slowly and accurate as this will be a visible seam.
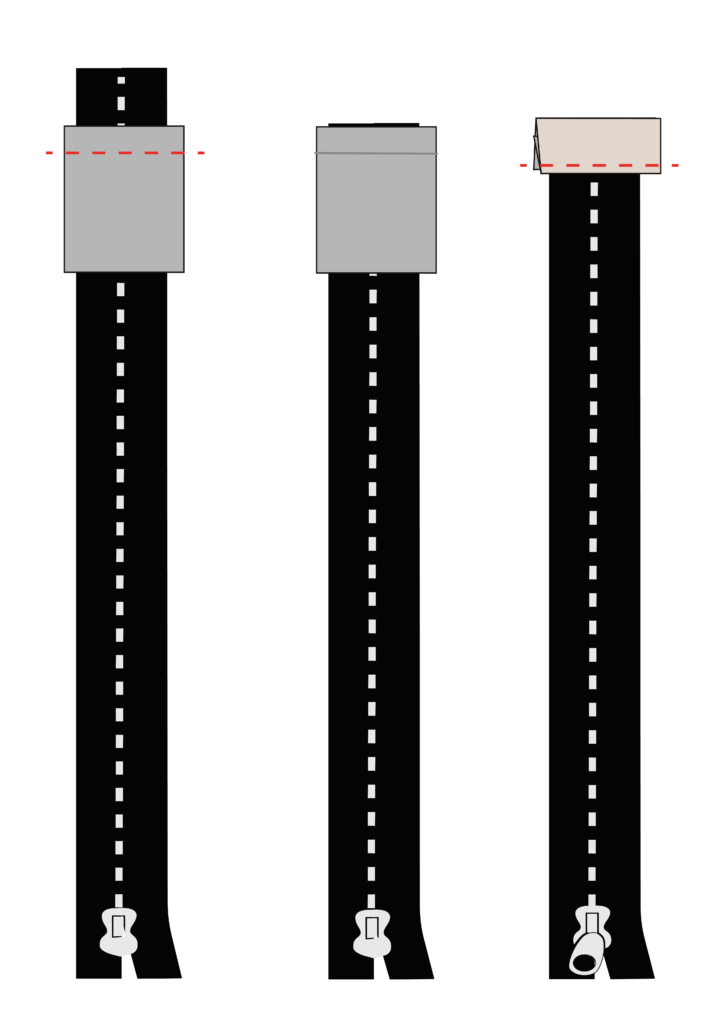
3. Prepare the zipper (left to right)
Place part D right side onto the left side of the zipper. Your zipper should have a final measurement of 22 cm. If your zipper is longer than that, we will shorten it in this step. However, part D should be placed at 21 cm so the total zipper will be 22 cm (incl. seam allowance). Attach D with a straight stitch and one centimeter seam allowance. You can sew over the zipper as long as it’s a plastic zipper. Please don’t sew over the zipper if you’re using a metal zipper for your cosmetic bag.
Only after attaching part D: trim the zipper to 1 cm seam allowance.
Fold D over the edge of the zipper and fold the open edge inwards. Topstitch D onto the zipper.
4. Attach the zipper to your cosmetic back
Line up the raw edges of the zipper with the raw edge of the front and pin the zipper, right sides together, to the front. Attach the zipper with a straight stitch. Try to sew close to the zipper teeth. A special zipper foot* can be helpful for this step. However, it is not necessarily needed for this project.
5. Line up the lining with the zipper and the front (right sides together). Repeat step 4 and stitch exactly over your previous seam to attach the lining.
Advanced sewists can do step 4 and 5 in one step.
6. Press the lining flat and topstitch it onto the seam allowance. This avoids the lining getting caught in the zip.
7. Repeat step 4-6 for the other side of the zipper. Open the zip before moving to the next step.
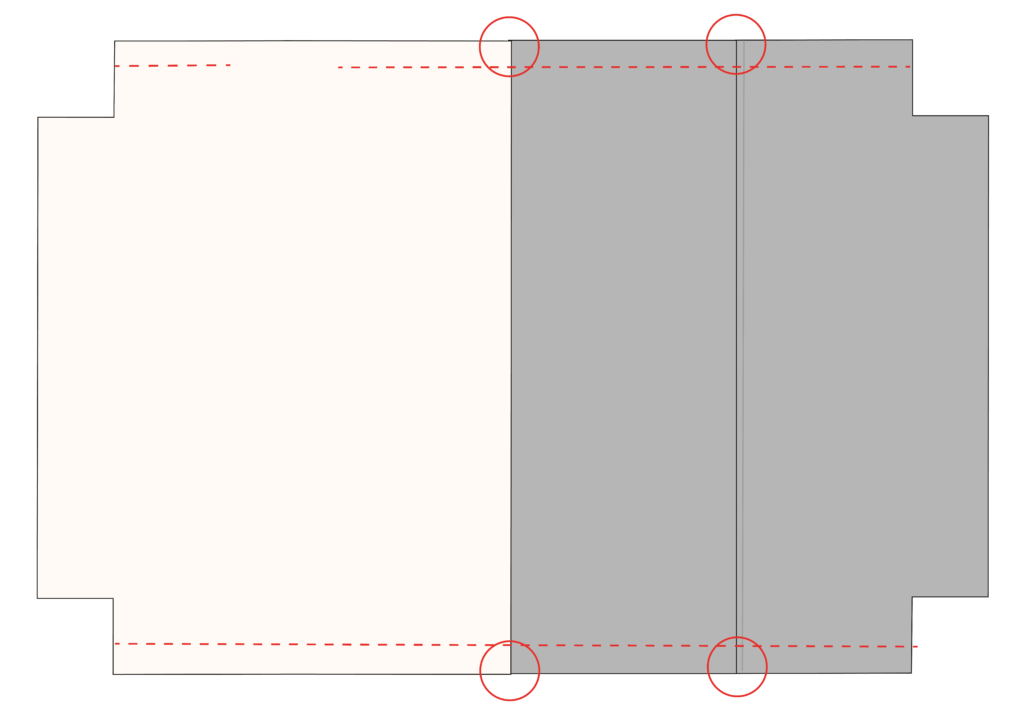
8. Place the lining right sides together and the front right sides together. The zipper is in between the lining and front layers. Close all edges as marked in red. Leave a gap on the lining to turn the bag inside out. Don’t sew the angled corners yet!
Make sure to align all seams of the front part and the zipper (here marked with a red circle).
9. Open up the corners to each side so the seams meet. Sew a straight line across the edge as marked in the picture.
Repeat this step for the other 3 corners.
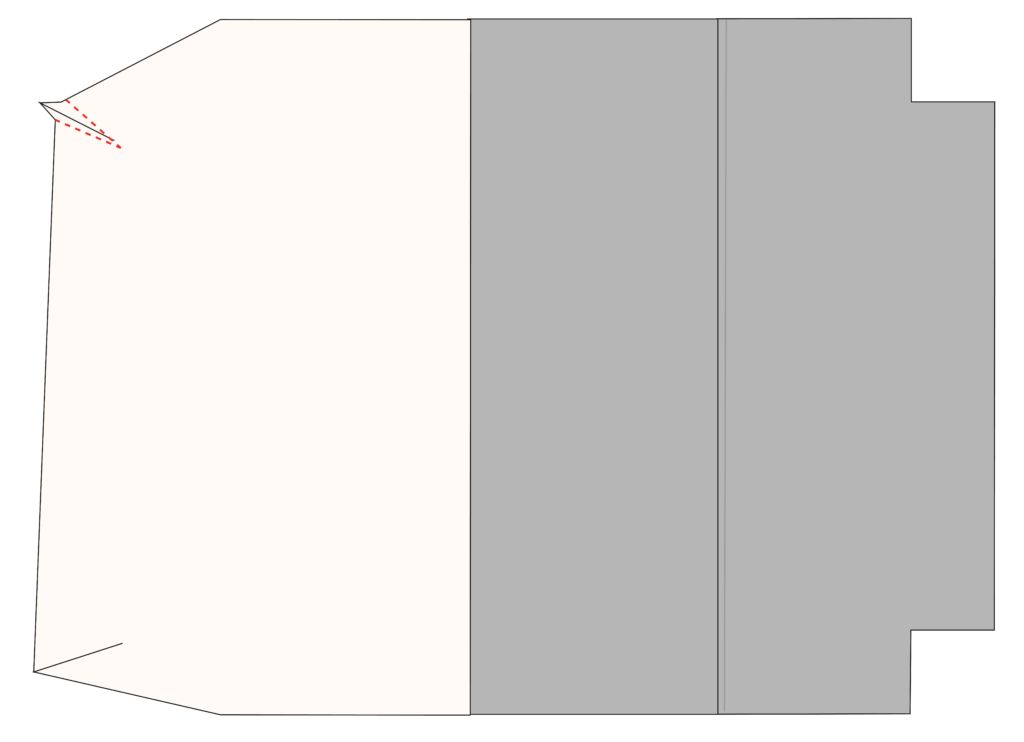
10. Trim access fabric to reduce the bulk.
11. Turn the cosmetic bag inside out through the gap in the lining.
12. Close the gap in the lining with a narrow topstitch, iron the cosmetic bag and you’re done 🙂
I’d love to see your results! Tag me on your pictures and videos using #makeityoursthelabel on Instagram, YouTube and TikTok.
Cosmetic Bag Free Pattern – Pin it for later