

Sewing
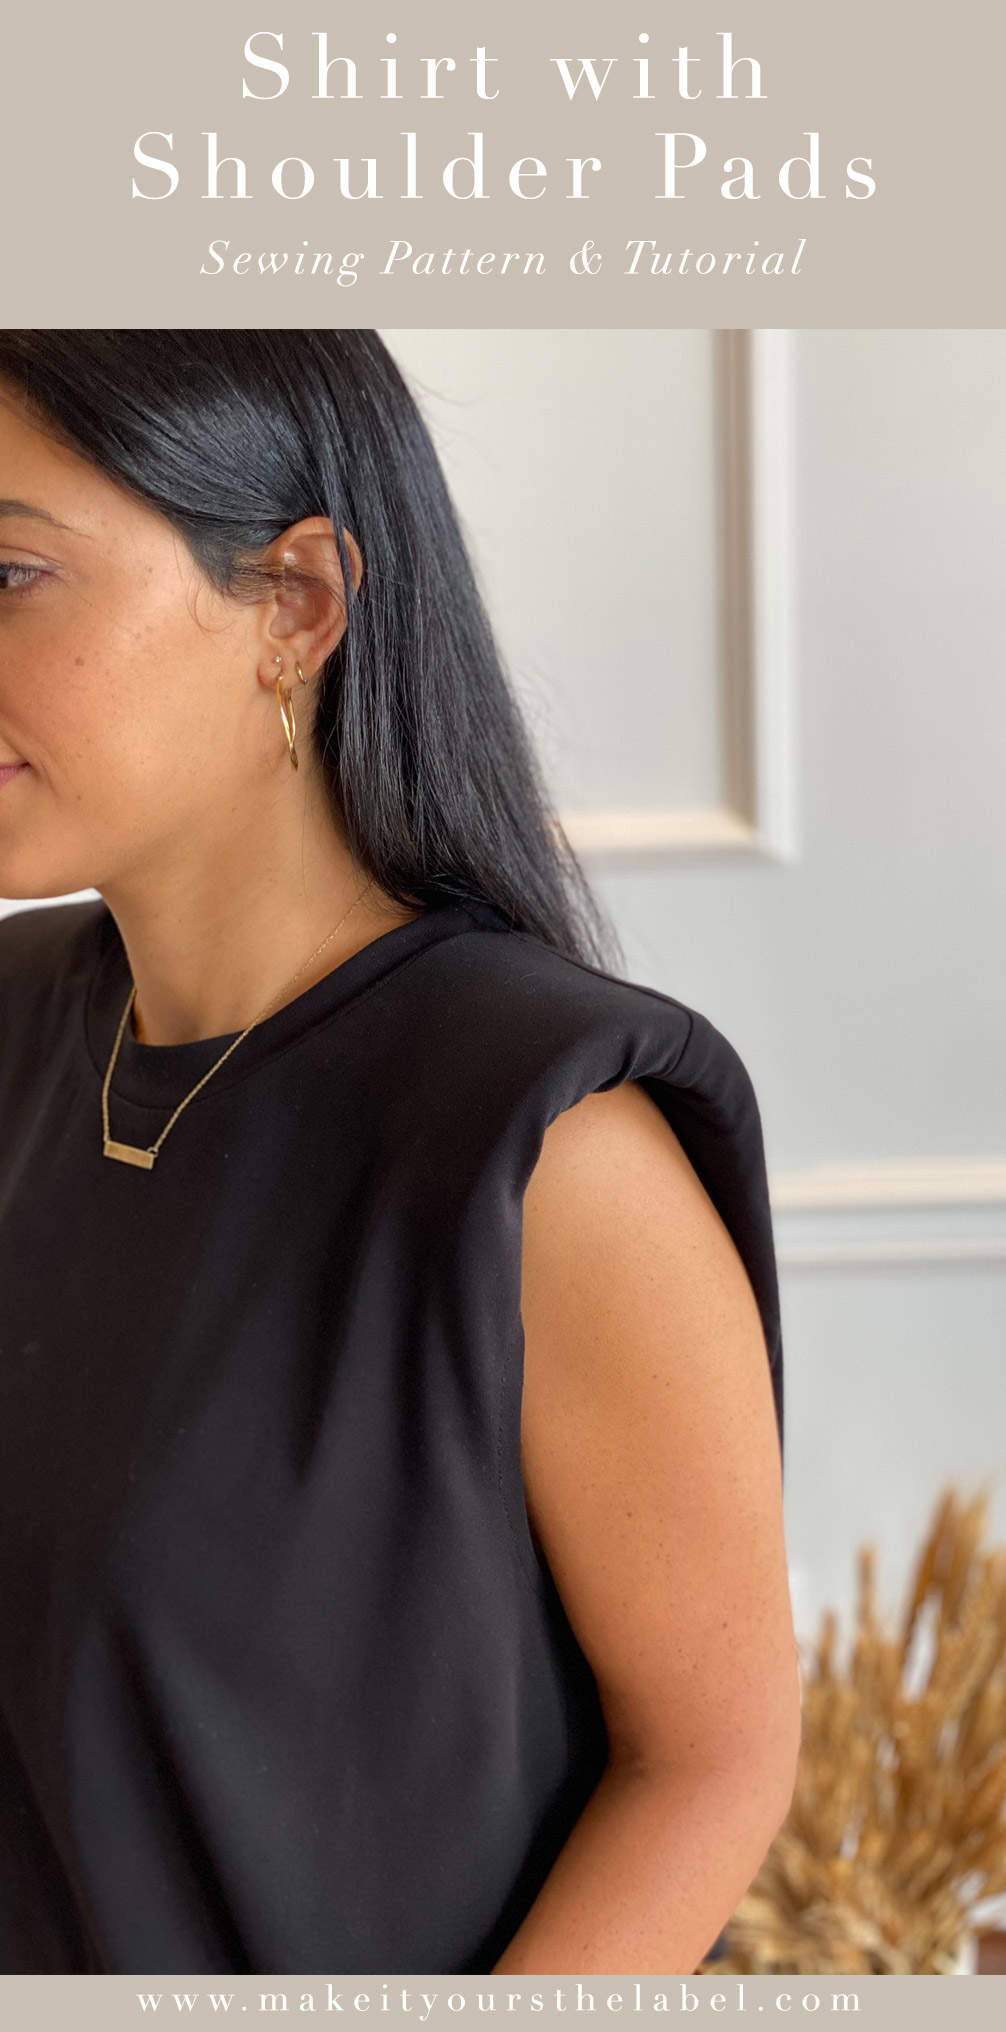
DIY Shoulder Pad Shirt – Sewing Pattern and Tutorial

[*Post contains advertising and affiliate links*]
Are you ready for the shoulder pads from the 80s? I love the trend because you can create super nice, easy to wear outfits with this simple top. And the best thing about it: you can easily sew such a shoulder pad shirt yourself. In this blog post I’ll show you step by step how to sew a shoulder pad shirt. You can find the sewing pattern for the shoulder pad shirt / dress in my shop.
DIY Shirt with Shoulder Pads: what you need
Material
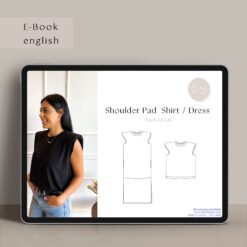
- The pattern incl. PDF sewing guide in german or English
- Fabric scissors,fabric needles, iron , yarn matching the fabric
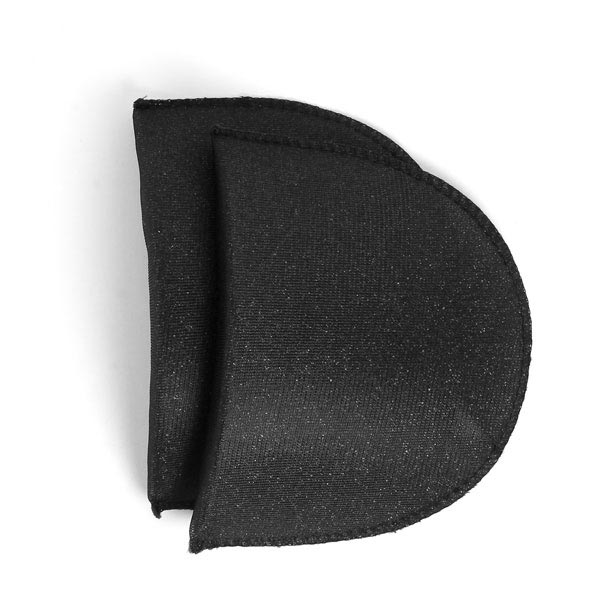
- Shoulder pads matching the fabric
- Cuff fabric matching the fabric
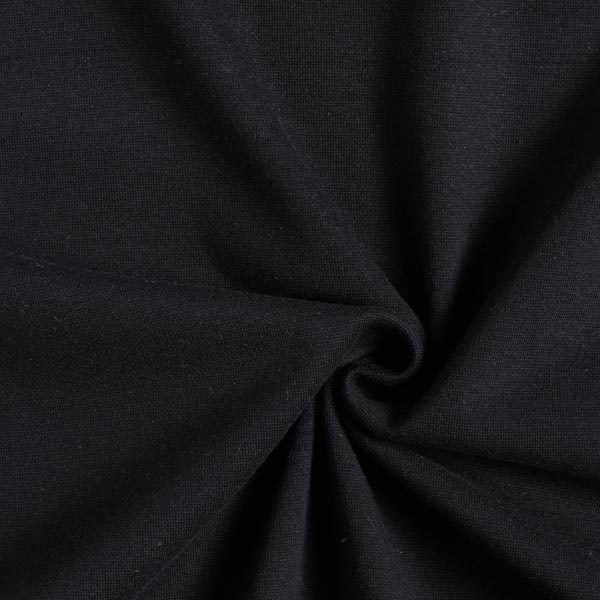
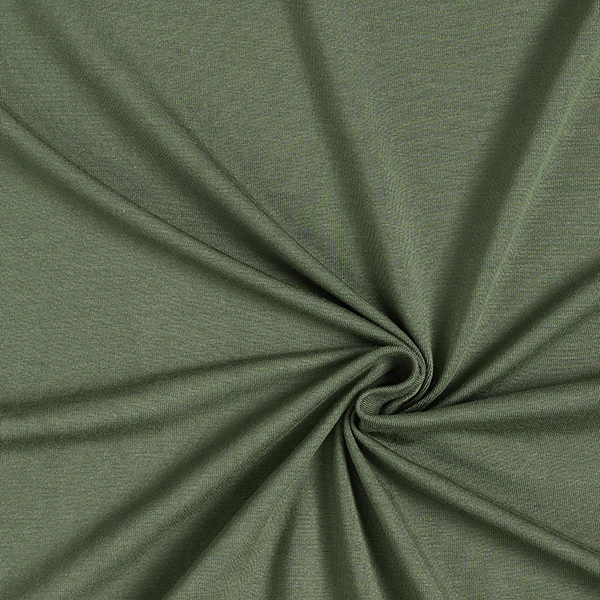
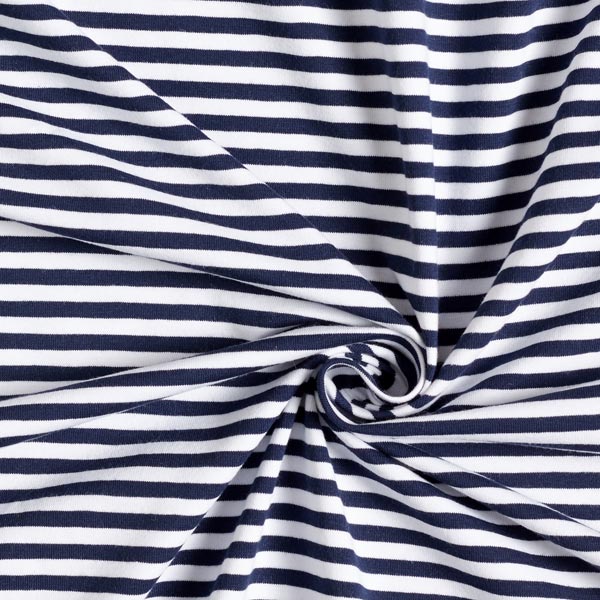
Substance recommendation
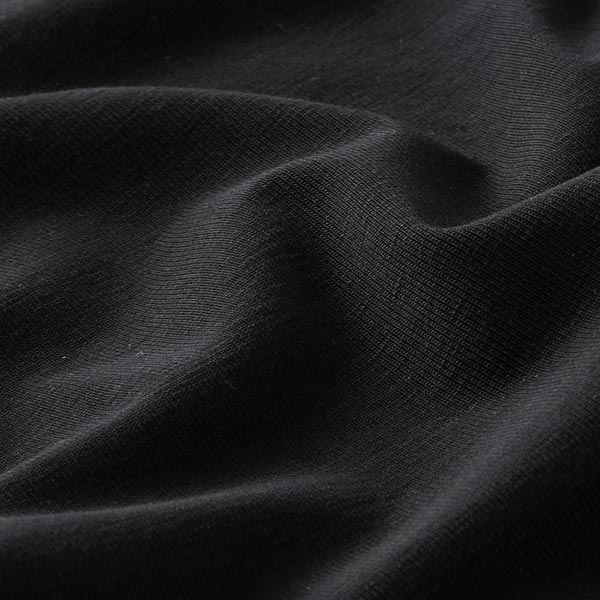
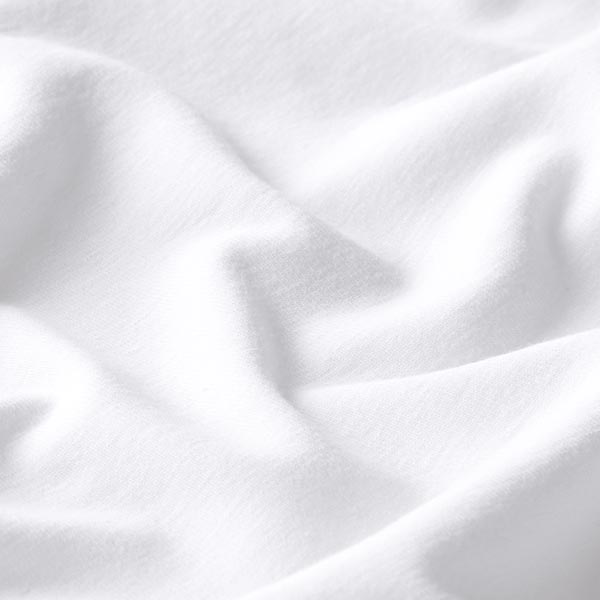
- Jersey fabric made of cotton or viscose
- As a dress: light knit fabrics
The pattern

Fabric Consumption
|
34 |
36 |
38 |
40 |
42 |
44 |
||
| 1,15 |
|
140 |
140 |
140 |
140 |
150 |
150 |
| 1,40 |
|
110 |
110 |
120 |
120 |
120 |
120 |
|
34 |
36 |
38 |
40 |
42 |
44 |
||
| 1,15 |
|
220 |
230 |
230 |
230 |
240 |
240 |
| 1,40 |
|
150 |
160 |
160 |
160 |
170 |
170 |
|
34 |
36 |
38 |
40 |
42 |
44 |
||
| 1,15 |
|
270 |
280 |
280 |
280 |
290 |
290 |
| 1,40 |
|
180 |
180 |
190 |
190 |
190 |
190 |
Fabric Recommendation for a Shirt / Dress with Shoulder Pads


*Alle Links sind Affiliate-Links. Der Klick kostet dich nichts und für die Empfehlung bekomme ich lediglich eine kleine Provision.
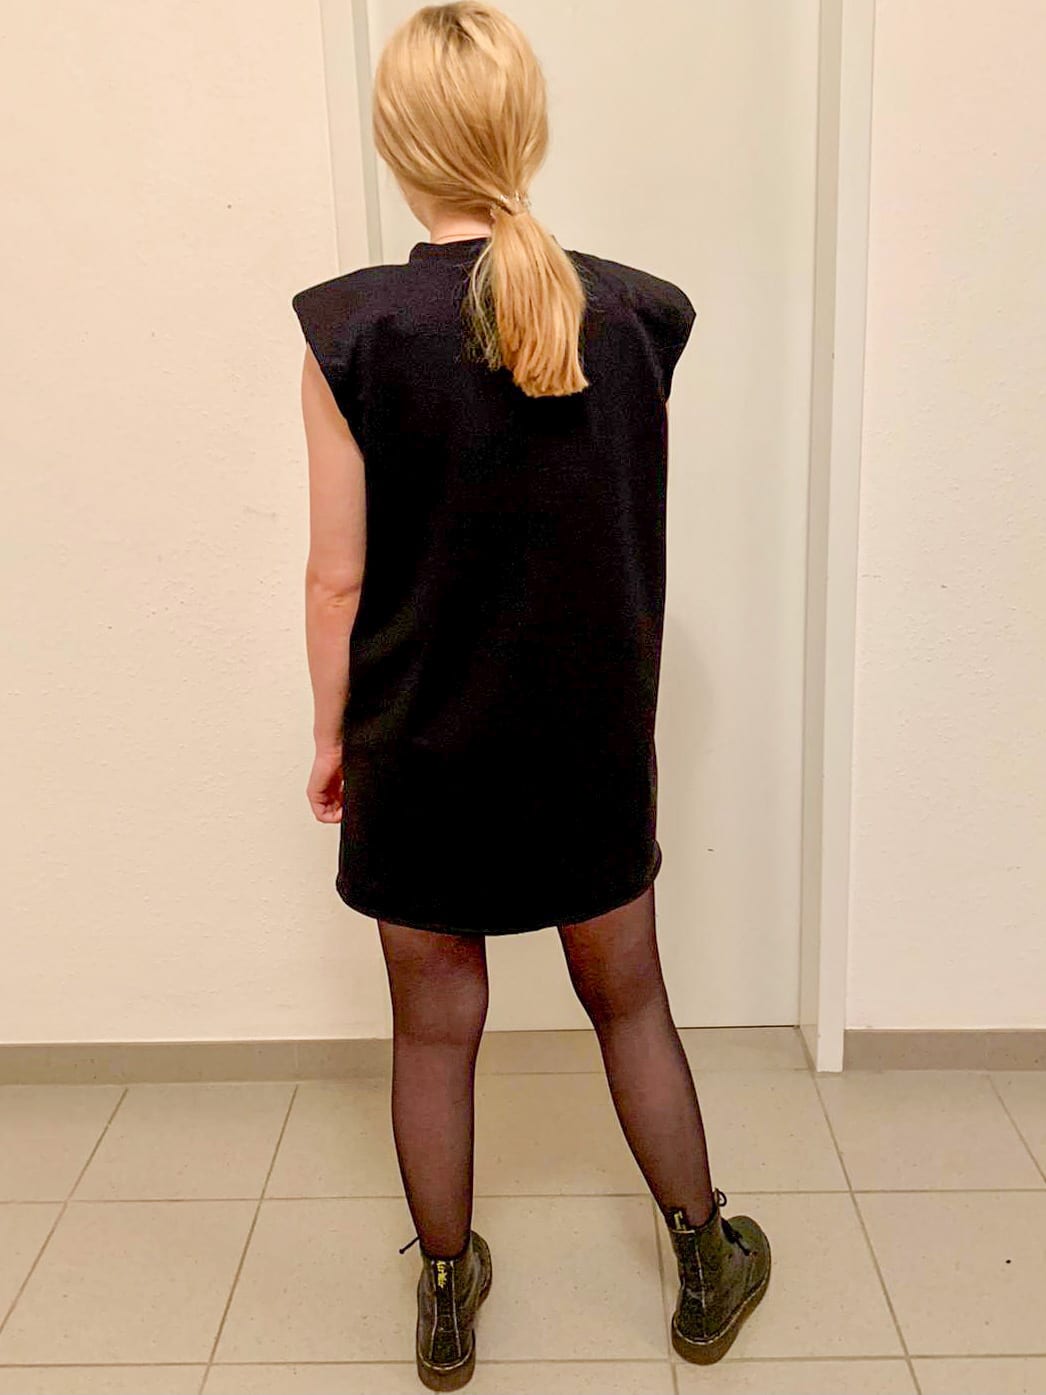
Inspiration: Pictures of the Test sewing


DIY Shirt with Shoulder Pads: Sewing Tutorial
1. Basic Shoulder pad shirt tutorial
1.1.
Put the front and back right sides together and close the shoulder seams. Overcast the open edges with a zigzag / overlock stitch. Alternatively, you can sew the seam directly with your serger / overlock.

1.2. Close the side seams from the armhole down to the hem. For the shirt version without inseam pockets, you can quickly and easily sew both layer with the overlock.

1.3. Overcast the open edges of the armholes with your overlock or a zigzag stitch / overlock stitch on your sewing machine. Topstitch around at 1 cm away from edge.

2. Cuff
2.1. Fold the cuff right sides and sew the short sides together.

2.2. Fold the cuff left sides together at the fold edge.

2.3. Pin the cuff right sides together on the shirt:
– „Left side seam“ = The cuff meets the left leg seam
– CB = Center Back
– CF = Center Front
– „Right side seam“ = the cuff meets the right leg seam

2.4. Sew the cuff evenly to the neckline. Make sure to only stretch the cuff and not the fabric!
3. Attach the shoulder pads to the shirt
Now put the shoulder pads in your shirt. The narrow side towards the cuffs, the wide side towards the arm.
The shoulder pad should end before the cuff. For the straightening placement, you can also take the sewing pattern to your aid andTransfer markings to your fabric.

To prevent the shoulder pad from slipping, attach it with two or three stitches on the front and back of the shoulder seam. Fold down the sleeve inside and also attach it from below to the shoulder pad with two or three small stitches. Try on your shirt and fix the sleeve with additional stitches if necessary.
Whether you can use your sewing machine depends on the shoulder pads.
Unless otherwise possible, attach the pads with a few stitches by hand.
4. Hemming the Shirt
Now try on your new Shirt and decide how long your shoulder pad shirt should be.
Here are a few ideas for the hem:
1. Overlock the open edges with (or use a zigzag stitch). Turn the hem over one centimetre (according to the seam allowance) and topstitch it.
2. Instead of the simple hem, you can also use a double folded hem. To do this, fold the hem in twice: first 0.5 cm, iron, then 1 cm, iron again and sew it with a straight stitch to a tight edge. This way the open edge disappears in the seam and you don‘t have to overlock
3. For the shirt version, an elastic band can also look great. To do this, turn over the hem, topstitch close to the edge and leave an opening for an elastic in the width of your choice.
Yay, you’re done! The shoulder pad Shirt is such a quick and easy DIY. If you are now in the mood for more, then be sure to download the PDF instructions as an e-book, because there I will also explain how you can sew a midi and maxi dress with shoulder pads. A simple and easy to wear outfit for the summer!
Do you have any questions or comments? I look forward to hearing from you. Drop me a line in the comments or say hello on Instagram.
Pin it: DIY Padded Shoulder Pad